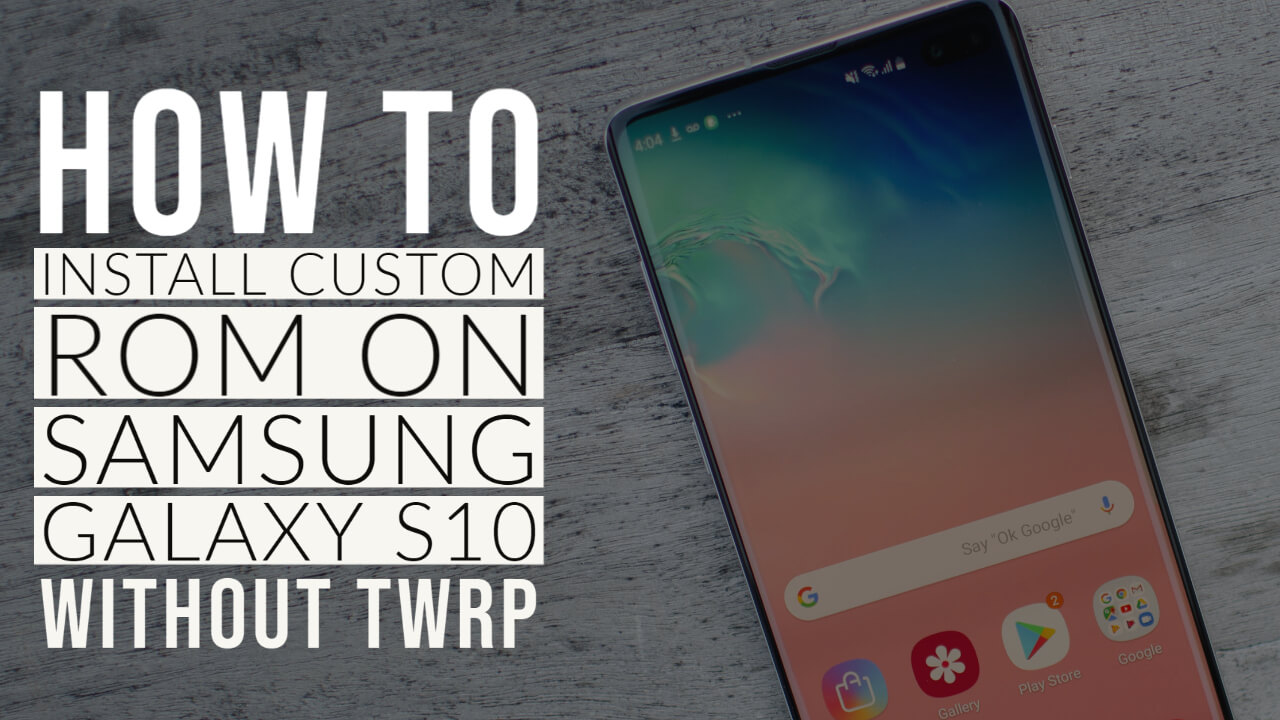
For people that can’t or don’t want to install TWRP on their devices. For example TWRP doesn’t work with the S10E Snapdragon G9700 the HK/CHG version.
No you can use any device, but this guide is tailored to the s10e g9700; because the TWRP version for this phone doesnt work with Android10.
I use Manjaro [Arch] linux and tried to get Heimdall to work but couldn’t, so choose the path of least resistance, so ODIN and windows is what we got.
I’m not a fan of Google Apps so my recommendations are these (2) ROMs:
1. DOWNLOAD (No bloat, Stock Android 10 with FOSS Apps replacements of Gapps, you can install your own on top, Like I use Google Maps (the only Gapp I use)
2. DOWNLOAD (Lineage OS 17.1 – this is vanilla, you will have to install an App store like F-Droid or Aurora from the .apk files using ADB [FYI] – This is what I use as my daily driver!
NOTE – the proximity sensor doesn’t work with the S10E and PHH based ROMs – https://github.com/phhusson/treble_experimentations/issues/592#issuecomment-519853332
REQUIREMENTS:
- 7zip – https://www.7-zip.org/
- Odin – https://samsungodin.com/
- CMD or PowerShell (Windows) – tar-md5-script-tool.zip
STEPS TO INSTALL CUSTOM ROM ON S10 USING ODIN WITHOUT TWRP
Step 1: Get your phone Official Stock ROM – https://samfw.com/firmware/SM-G9700/TGY (this is the one for my phone)
Step 2: Extract the downloaded file (you’ll have the BL, AP, CP, CSC) .TAR.MD5 files
Step 3: Using 7zip extract just the AP .tar.md5 (it’ll have img.lz4 files: boot.img.lz4, vbmeta.img.lz4 & system.img.ext4.lz4)
Step 4: Download a clean vbmeta.img file from Google – https://dl.google.com/developers/and…gsi/vbmeta.img
Step 5: Now we need to compress the vbmeta.img file (just downloaded from google) using LZ4.
Step 6: Go into the /bin folder inside the script zip file provided (or download LZ4 from https://github.com/lz4/lz4/releases)
Step 7: Run this command –
lz4.exe -B6 --content-size vbmeta.img vbmeta.img.lz4
Step 8: Done with vbmeta.img (keep the vbmeta.img.lz4 file)
Step 9: Now download your favorite Custom ROM (https://github.com/phhusson/treble_e…y-floss.img.xz)
Step 10: Using 7zip extract the .img.xz file & Rename the file inside to system.img.ext4 (this is the system OS without lz4 compression)
Step 11: Now we need to compress the system.img.ext4 file (just renamed) using LZ4.
Step 12: Run this command –
lz4.exe -B6 --content-size system.img.ext4 system.img.ext4.lz4
Step 13: Done with system.img.ext4 (keep the system.img.ext4.lz4 file)
Step 14: Want to Root the device? if yes continue on; if not skip to step 24
Step 15: Take the boot.img.lz4 extracted from the stock ROM (the AP.tar.md5 file)
Step 16: We need to decompress this file using LZ4.
Step 17: Run this command –
lz4.exe -d boot.img.lz4 boot.img
Step 18: Transfer this boot.img file to a phone and run Magisk Manager (doesnt need to be a rooted phone) and patch the boot.img file
Step 19: Take the patched file on your phone and transfer to your computer
Step 20: Rename the patched Magisk file to boot.img
Step 21: Now we need to compress the boot.img file (just renamed) using LZ4.
Step 22: Run this command –
lz4.exe -B6 --content-size boot.img boot.img.lz4
Step 23: Done with the renamed Magisk patched (keep the boot.img.lz4 file)
Step 24: Replace the stock boot.img.lz4, vbmeta.img.lz4 & system.img.ext4.lz4 with the new customize files
Step 25: Extract the files from tar-md5-script-tool.zip
Step 26: Copy or Move all files below to the tar-md5-script-tool folder
Step 27: Files are: (we don’t need the meta-data folder with fota.zip)
boot.img.lz4
dqmdbg.img.ext4.lz4
dtbo.img.lz4
persist.img.ext4.lz4
recovery.img.lz4
system.img.ext4.lz4
userdata.img.ext4.lz4
vbmeta.img.lz4
vendor.img.ext4.lz4
Step 28: Now we are going to build the AP file to use with Odin
Step 29: Run the batch.bat file from the tar-md5-script-tool folder
Step 30: Once it finishes go to the /tar-md5-script-tool/temp-folder/
Step 31: Inside you will find the AP_TAR_MD5_CUSTOM_FILE_ODIN.tar.md5
Step 32: Flash the BL, CP, CSC (use HOME_CSC) from your Stock ROM & AP (using AP_TAR_MD5_CUSTOM_FILE_ODIN.tar.md5)
Step 33: Done
CREDITS: XDA-Developers Android Forums