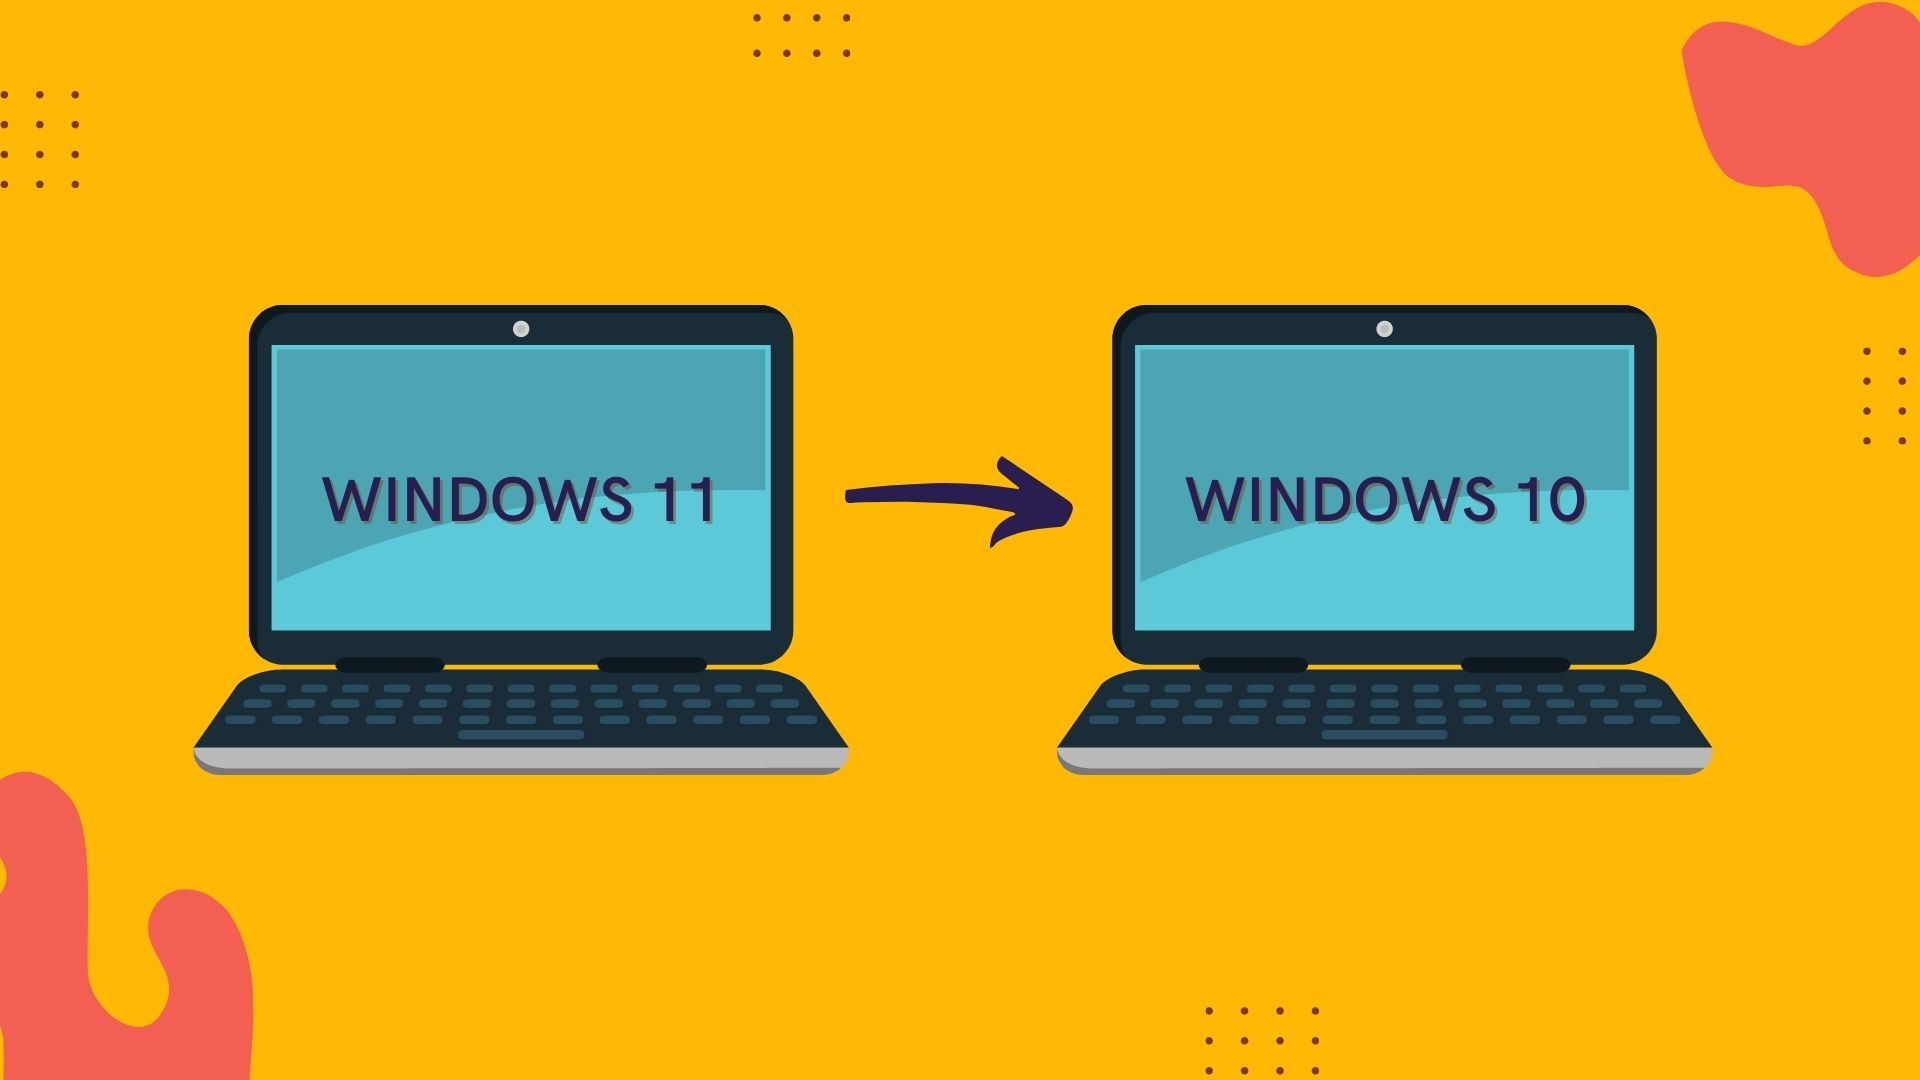
Microsoft has just released its newest operating system, Windows 11. And many Windows 10 users are eager to give it a whirl because the upgrade from Windows 10 to Windows 11 is simple and free. Windows 11 introduces a slew of new features that will change the way users interact with the operating system. Some Windows 10 users, on the other hand, aren’t used to the new system and wish to revert to Windows 11. What if they want to downgrade from 11 to a previous version of Windows 10? There are 2 simple ways to downgrade from Windows 11 to Windows 10.
Way 1 – Downgrade Windows 11 to Windows 10 via Go Back Function in 10 Days
Therefore, within 10 days of the upgrade, Microsoft allows users to revert back to the previous version. Windows 10 can be easily reverted back to if you don’t like the new Windows 11 system. You should also be aware that data will be lost when you downgrade. After installing Windows 11, it’s a good idea to make a copy of everything you’ve worked on.
Step 1: Click the Windows icon on the Windows 11 desktop, then select Settings.

Step 2: In the Windows settings interface, go to System > Recovery. Then, under Recovery options, click the Go back option.

Step 3: You can investigate why you want to return to Windows 10 at this time. After that, press the Next key.

Step 4: If you decide to go back to Windows 10, you can choose No, thanks when it asks you to check for updates.

Step 5: After reading the information, click Next to proceed.

Step 6: This screen instructs you to retrieve the Windows 10 login password in order to avoid being locked out of Windows 10 if password protection is enabled. Then, to proceed, click Next.

Step 7: Finally, click Return to Windows 10.

Wait patiently for the system to restart and log into Windows 10.

Way 2 – Roll Back Windows 11 to Windows 10 via Clean Install after 10 days
Using the Windows 10 installation media, you can revert back to Windows 10 after 10 days if the Go back function doesn’t work for you.
Step 1: Download the Windows 10 media creation tool from the Microsoft software download page.

Step 2: After downloading, run the media creation tool and accept the applicable notices and licence terms by clicking Accept.

Step 3: Select the Upgrade this PC Now option, then click Next. It will then begin downloading Windows 10.

Step 4: When the download is finished, go to the next screen and click Next, then Accept.
Step 5: Choose Nothing and then click the Next button when it comes to the Choose what to keep option.

Step 6: Finally, click Install to begin the Windows 10 setup process. Wait a few minutes, and your Windows 11 will be updated to the latest version of Windows 10.


