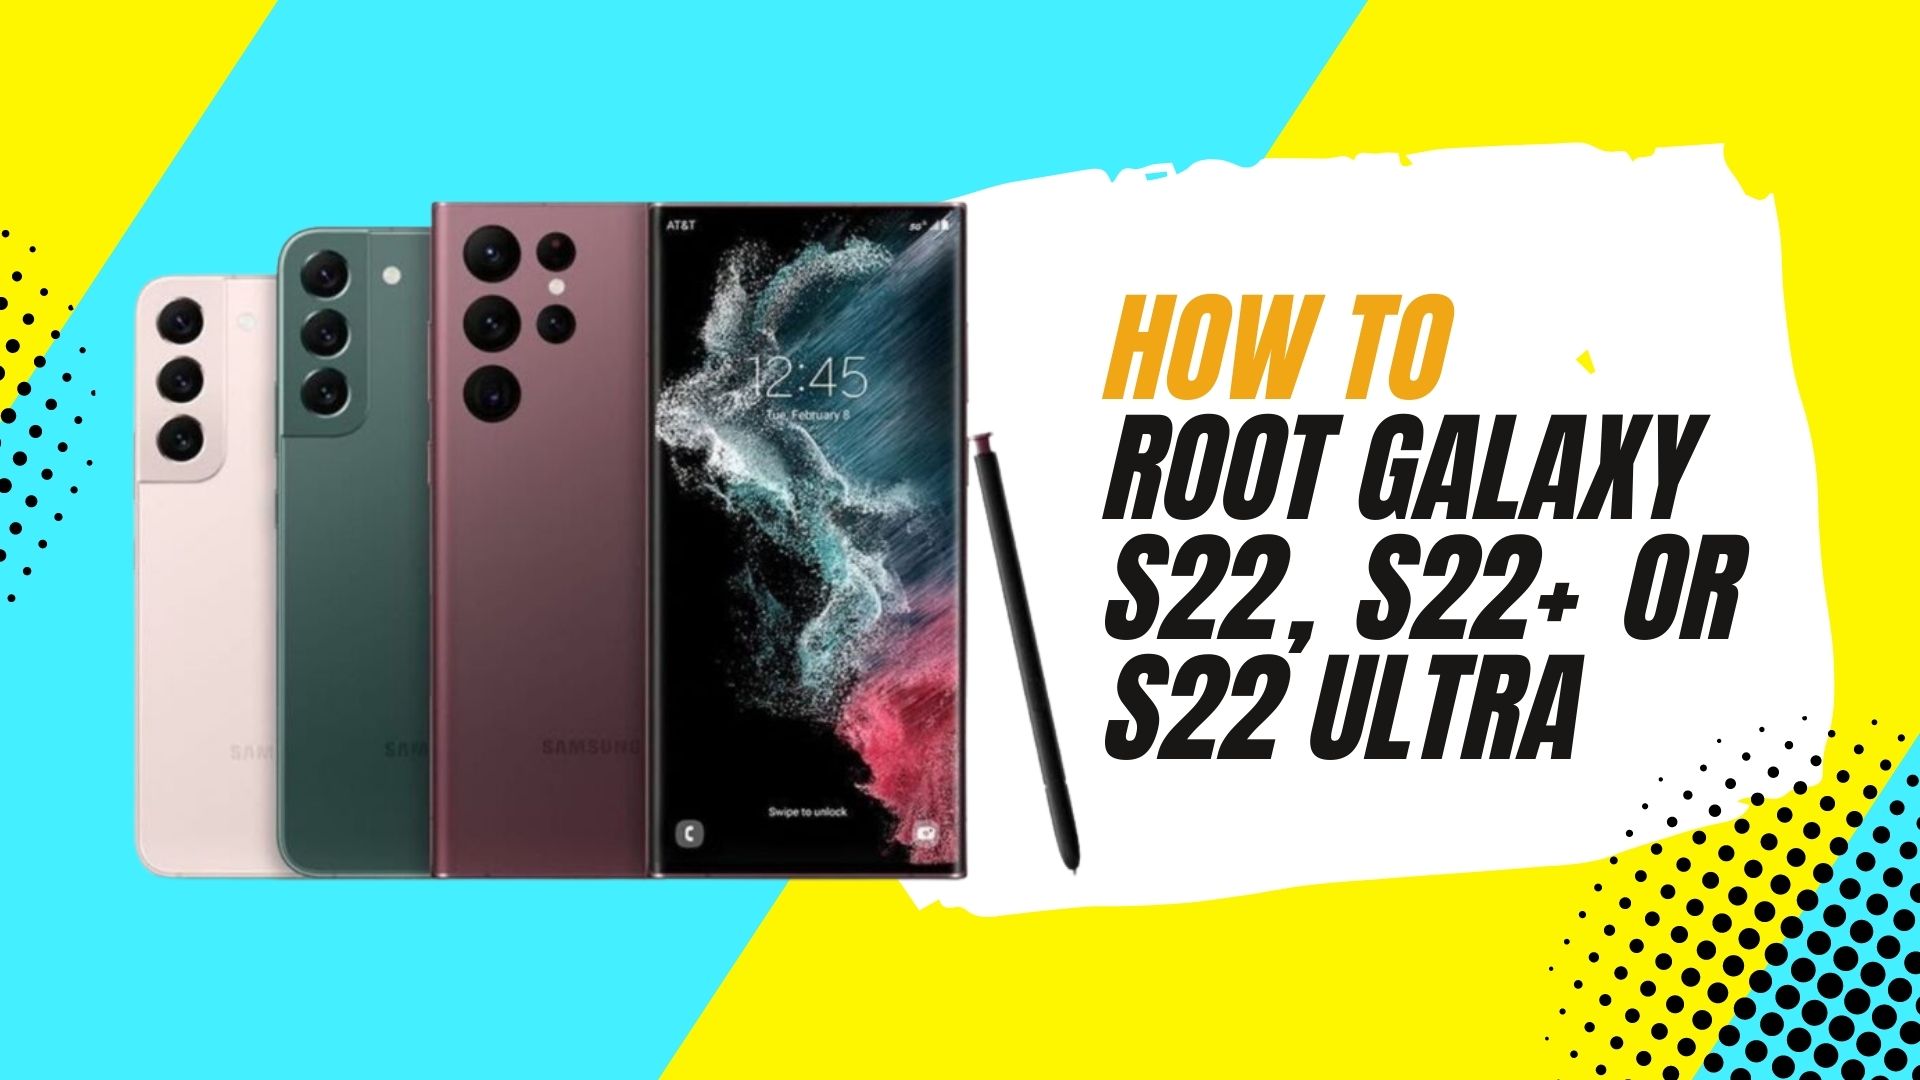
Initially when I saw the Samsung Galaxy S22, I felt that it was a little bit bland. I felt that it looked very typical of Samsung devices. It has very nice matte back here which feels awesome to the touch minimal fingerprints.
The Samsung Galaxy S22 Plus is the flagship phone that sits in the middle of this year’s S Series lineup. It has a bigger and brighter screen than the vanilla model, as well as a larger battery and support for faster charging. Galaxy S22 is a fresh new build. The phone is made not of gorilla glass victus but gorilla glass victus plus on the back and the front. The back is a lot flatter here than last year and the camera bump doesn’t wrap into the frame like before. The frame itself is made of armor aluminum, it’s glossy and has a subtle curve to it. You also get the IP68 rated dust and water resistance.
The Samsung Galaxy S22 Ultra brings a design that’s quite different from the rest of the S-Series, it’s larger and heftier. And cameras come straight out of the back rather than being mounted in a camera bump. The Ultra has a flat back, top, and bottom, quite like a galaxy note device. Another big change over last year’s model is that the S22 ultra integrates the stylus into the design with a dedicated dock at the bottom. It’s a lot more secure and it means that you’ll always have your pen with you.
GUIDE TO ROOT SAMSUNG GALAXY S22 / S22+ / S22 ULTRA
✅ PRE-REQUIREMENTS:
☑ Make sure to disable all security Locks on your device.
☑ You Need PC/Laptop to Perform Commands.
☑ The phone battery should be minimum 60%
☑ Use Samsung Orignal Cable.
☑ Take full backup of your device.
☑ Your device should be updated to Latest Android Version.
🔴 IMPORTANT:
This Guide is only for Samsung Galaxy S22 Series With EXYNOS Processors.
Example: S901B, S906B, S908B……
🔴 NOTE:
It is advised to follow the steps mentioned in this post very carefully to avoid permanent damage or to brick your device. If something goes wrong the TheWorldsBestAndWorst is not responsible for it.
➖➖➖➖➖➖➖➖➖➖➖➖➖➖➖➖➖
✅ STEP 1: UNLOCK BOOTLOADER ON YOUR GALAXY S22
Follow these 3 Simple steps to Unlock Bootloader of Your Device.
1. Enable Developer Options
- Go To “Settings ➡️ About Phone ➡️ Software information”
- Tap 7-8 Times on “Build Number” to enable “Developer Options“
2. Enable OEM Unlocking
- Go To “Settings ➡️ Developer Options ➡️ TURN ON the OEM Unlocking Option”

- Press “Enable” wen prompted to confirm.
3. Let’s Unlock Bootloader
- Power off your device.
- Hold the Volume Down + Volume Up keys together while connecting your device to the PC until you see the bootloader screen.
- Now Long Press Volume Up Key to enter “Device Unlock Mode“
- To confirm Bootloader Unlocking, press the Volume Up key again.
- 🎉 Congratulations! Bootloader is Unlocked.
➖➖➖➖➖➖➖➖➖➖➖➖➖➖➖➖➖
✅ DOWNLOADS:
If you are asked to download a file at any point during the process, you can do so here. We’ll update the links to reflect the most recent developer build.
☑ Download Latest Firmware.
☑ Download LZ4
☑ Download 7-Zip ZS
☑ Download Magisk
☑ Download Odin
➖➖➖➖➖➖➖➖➖➖➖➖➖➖➖➖➖
✅ STEP 2: PREPARING PATCHED BOOT IMAGE FILE
1. Download the Latest Firmware of your device from above link.
2. Extract the Firmware. And you will see 5 Files in .tar.md5 format.

3. Extract the AP FIRMWARE file with 7-Zip ZS.

4. After extracting AP FIRMWARE file, you will see files in .lz4 format.
5. Copy boot.img.lz4 and vbmeta.img.lz4 to LZ4 Installed folder.

6. Follow below steps to Convert .img.lz4 to .img
- Open LZ4 Folder.
- Drag
boot.img.lz4andvbmeta.img.lz4to lz4.exe program.
- Both files will be converted to
.imgformat.
7. Connect Your device to PC and copy the “AP” file from the Firmware folder to your phone’s internal storage.
8. In the next step, we will patch the “AP” file.
➖➖➖➖➖➖➖➖➖➖➖➖➖➖➖➖➖
✅ STEP 3: PATCH THE AP FIRMWARE FILE WITH MAGISK APP
1. Install and open Magisk App on your Device.
2. Click on “INSTALL“
3. Now Tap on “Select and Patch a File”

4. Here you have to select the AP firmware file and tap on “LET’S GO“
5. Now Magisk will start patching the AP firmware file.

6. You will find magisk_patched.tar in “Downloads folder“
7. Connect your device to PC and transfer magisk_patched.tar file to “firmware folder” on your PC.

8. Extract magisk_patched.tar file.
9. Copy vbmeta.img to magisk patched folder.

10. Select boot.img and vbmeta.img file, right-click on the files, and “Add to archive“

11. Select the Archive format to tar and click on OK.

12. Now you will see boot.tar file has been created which is Odin Flashable File. So let’s proceed to the next step.
➖➖➖➖➖➖➖➖➖➖➖➖➖➖➖➖➖
✅ STEP 4: FLASH PATCHED BOOT.TAR USING ODIN FLASH TOOL
1. Power off your Galaxy S22 and boot it into Download Mode.
2. While holding the Volume Down + Volume Up keys together, connect your device with your PC.
3. You will see the Bootloader Screen, now just press volume up key to enter Download Mode.

4. Open the Odin3 xxx.exe file and make sure that your device is connected.

5. You will see ID:COM which means your Device Connected your PC. If it’s not showing then you should install Samsung Galaxy S22 Drivers.
6. Select the appropriate firmware files by clicking on the following slot buttons:
- BL: Choose the firmware file that begins with the “BL”
- AP: Select the Patched AP firmware file (
boot.tar) - CP: Choose the firmware file that begins with the “CP”
- CSC: Choose the firmware file that begins with the “HOME_CSC.”

7. Untick the “Auto Reboot” in the “Options” Tab.

8. Now just click the “START” button to begin the flashing process. You will see the PASS message after successful flash.
9. Now exit the download mode by holding Volume Down + Power Keys. As soon as the screen goes black, press the Volume Up + Volume Down + Power keys to boot into Recovery mode. [IF YOU FAILED TO BOOT IN RECOVERY MODE THEN YOU HAVE TO REPEAT WHOLE STEP 4 AGAIN]
10. Follow the steps below once the Galaxy S22 has booted into stock recovery mode.
- Go to “Wipe data/factory reset.”
- Select “Factory data reset.”
- Once done, select “Reboot system now.”
11. 🎉 Congratulations! You successfully Rooted Samsung Galaxy S22 using Magisk.
After your device boots up, and if you don’t see Magisk App then just simply download and install it. You can download the application from here.
➖➖➖➖➖➖➖➖➖➖➖➖➖➖➖➖➖