If you just bought a new gaming laptop, how do you make the most of it? I have compared hundreds of gaming laptops, and here’s how we optimize them!
Connect Charger
As soon as you get the laptop out of the box, look for any obvious damage that might have occurred during shipping. Check for scratches or physical damage briefly.
Connect the included charger to a wall outlet and plug it into the laptop before turning it on. When you first turn on a brand new gaming laptop, even with a fully charged battery, it won’t actually start until you connect the charger.
First boot may take a bit longer as it performs some initial setup tasks, so please be patient.
Windows Setup Settings
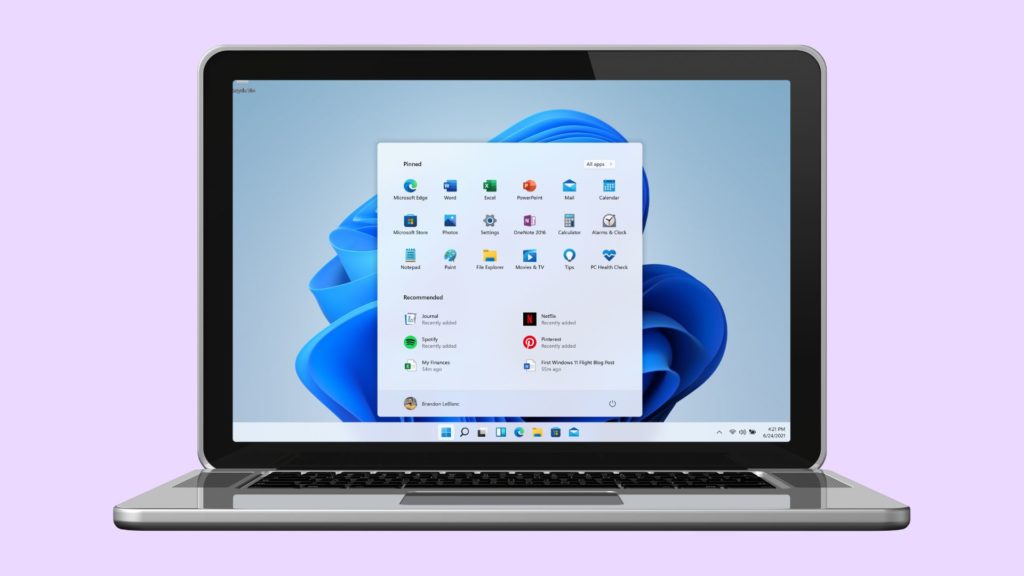
When you first turn on your laptop, Windows will give you a few basic setup options. During this step, you’ll need to connect to the internet so that Windows can receive some initial updates. You’ll also need to create a user account and password. Additionally, there are some privacy settings here, which I always turn off.
To complete the setup process in Windows 11, you will need an Internet connection, and you will be forced to create a Microsoft account. It was easier to bypass this in older versions of Windows 11, but now it’s quite difficult.
You can create a custom Windows 11 installation that uses a local account only, but you’d have to do a Clean Windows install.
Windows 11 or Windows 10
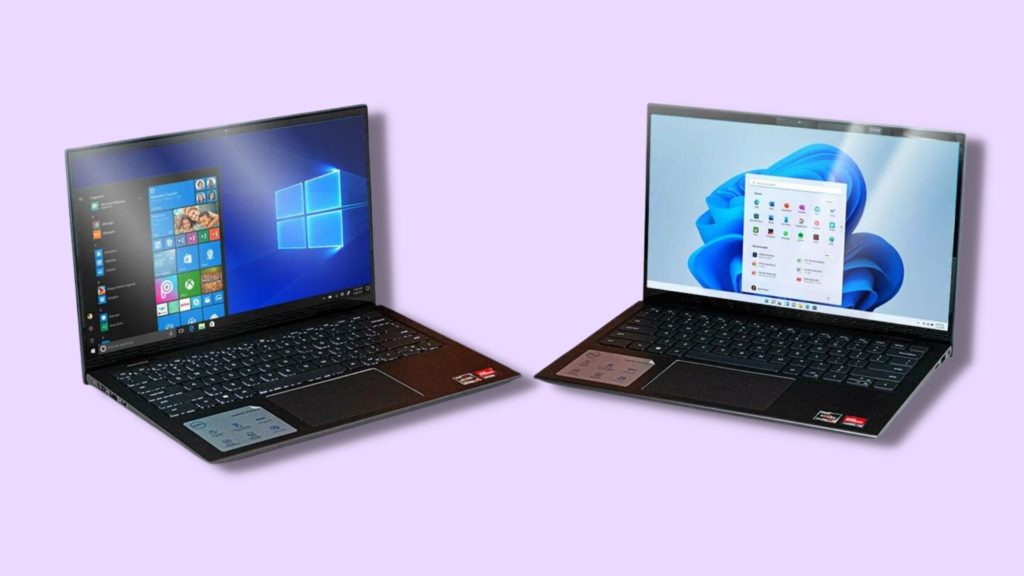
Most new gaming laptops from 2022 or newer come with Windows 11 by default. It’s possible to install the older Windows 10 if you want, but I wouldn’t recommend it. It’s worth embracing Windows 11 if you’re buying a new laptop since it’s just going to deliver the best gaming features and better support for newer hardware.

For example, Intel’s new 12th and 13th gen processors have a hybrid architecture with P and E cores that can be more easily understood with Windows 11. So basically, Windows 11 gives you better performance and better experience.
Update Windows
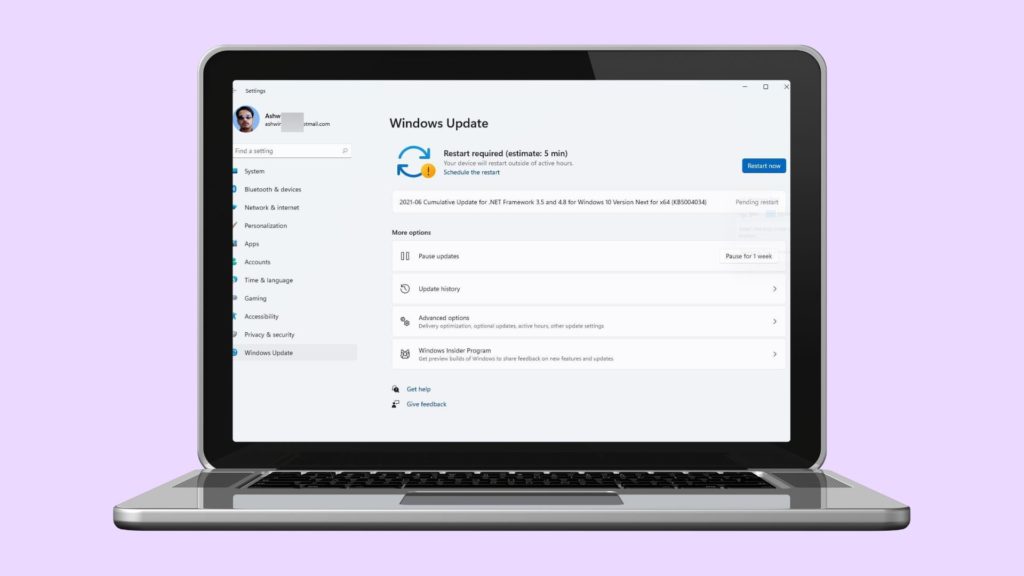
My first step once I’m on the desktop is to download and install all Windows updates. Before I start messing with anything else, I want to make sure Windows runs smoothly.
- Click the Start Button
- Tap on the Settings icon
- Select Update and Security
- Click Check for Updates
With an Internet connection, you should be able to check for updates. If other updates are downloading or installing, wait until they are finished before restarting.
Once the restart has been completed, go back to Windows Update and check for updates again. Some updates can only install if other updates have installed before them first, there’s an installation order. In short, you just need to repeat the process of updating and rebooting until all updates have been installed.
Update Microsoft Store
Next, I like to apply all updates through the Microsoft Store. It includes various applications that come with Windows and, for many gaming laptop brands, it also includes the control panel software for managing the laptop itself.
BIOS Update
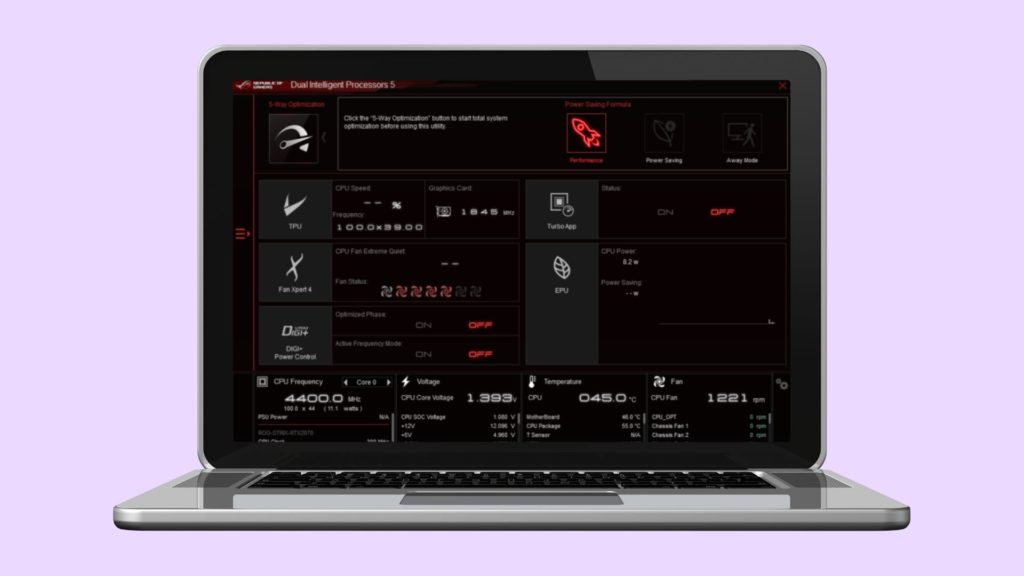
When it comes to BIOS updates, they can be very useful for fixing bugs or improving performance. A BIOS update can either be manual or automatic, depending on your laptop.
In some laptops, such as ASUS, the latest BIOS is automatically downloaded through Windows updates.
Others, such as Lenovo, let you download the latest BIOS through their Vantage software.
While some like MSI require you to go to their website, download the file manually, stick in on a USB stick and then boot the laptop into BIOS and update the BIOS through there.
Graphics Driver
This step is important for gaming, since GPU drivers often include performance improvements and fixes for known bugs. This is definitely something you’ll want to check periodically for updates.
When it comes to GPU drivers, Windows update usually plays it safe, so it might be a few versions or months behind the latest version of what the laptop came with.
Nowadays, gaming laptops come with both integrated graphics and discrete graphics, which are used for running games. So two different GPUs are present in the same machine, and both need drivers. For example, if your laptop has both Intel and Nvidia discrete graphics, you’ll need both Intel and Nvidia graphics drivers.
You’ll need AMD’s Radeon graphics and Nvidia’s graphics drivers if your laptop has AMD Ryzen CPU and Nvidia graphics. An all AMD laptop with Ryzen CPU and Radeon graphics only need the Radeon graphics drivers, as that will handle both.
Personally, I like keeping the GPU drivers of both up to date, but you can usually get away with just letting Windows update handle the integrated graphics drivers. It’s still worth keeping the discrete graphics drivers up to date manually for the best performance in new games.
Check Resolution & Refresh Rate
It’s worth checking that the screen is running at the highest resolution and fastest refresh rate after the graphics drivers have been installed.
Check Display Resolution
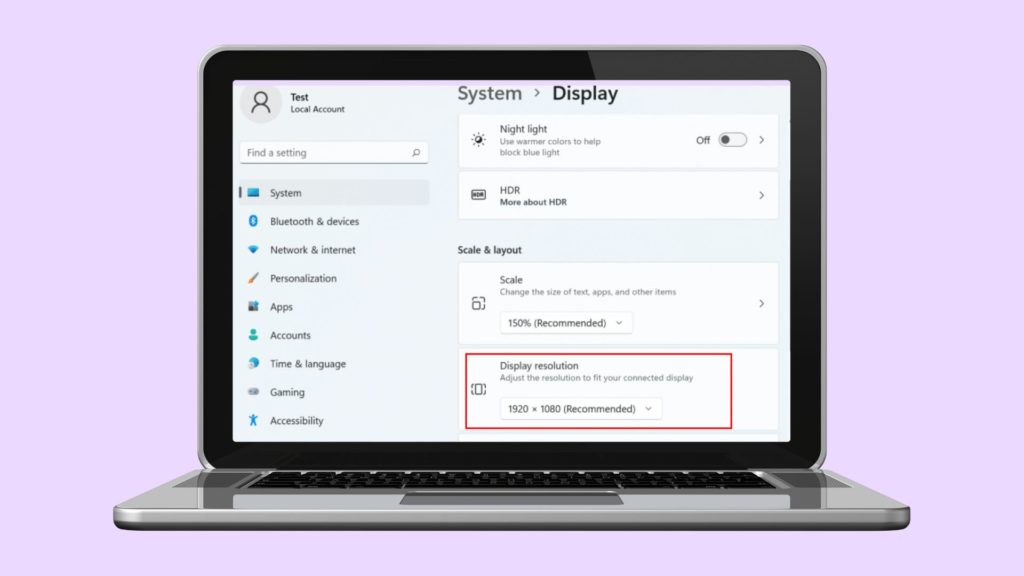
- Right-click on desktop and click Display Settings
- Click on Display
- Scroll down to Display Resolution and make sure it’s on the highest option
Check Refresh Rate
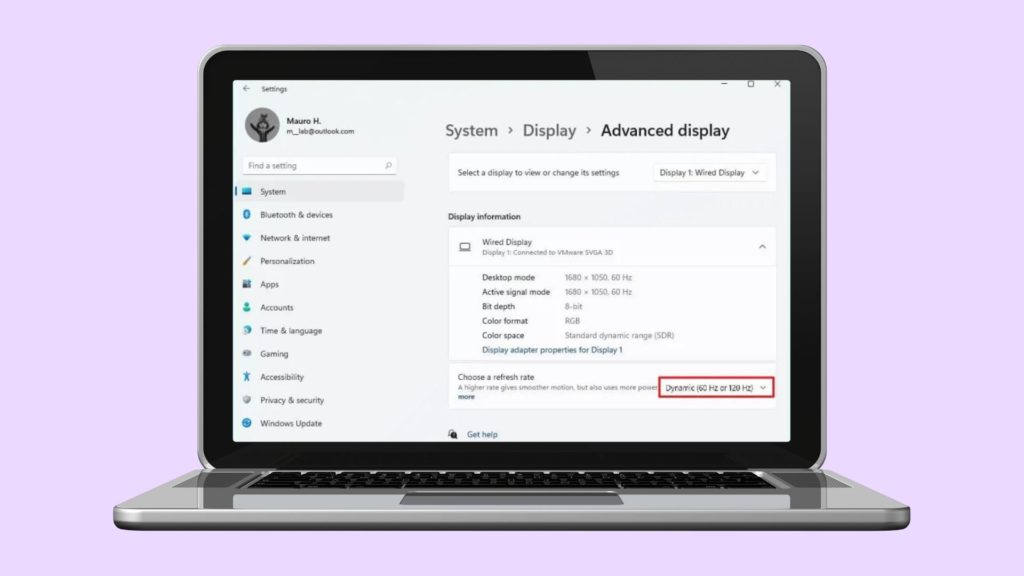
- Press Windoes+i to open settings
- Tap Display
- Click on ‘Advanced Display’
- Now click on the drop-down menu and choose your refresh rate.
Remove Bloatware
Most laptops come with a bunch of random garbage software installed by default. The more junk processes running in the background, the slower the laptop and the worse the battery life, so I like to remove as much as possible.
Is Anti Virus Software Needed?
Most people don’t need third-party antivirus software, in my opinion. It’s just another vulnerability that can be exploited, more software that needs to be updated. Despite the fact that antivirus software consumes more resources in order to run and scan stuff, resulting in slower game performance.
These days, I think the built-in Windows defender is good enough for most people, and it’s already there by default. People who don’t know much about computers should only consider traditional antivirus software.
Choose Which Apps Load at Startup
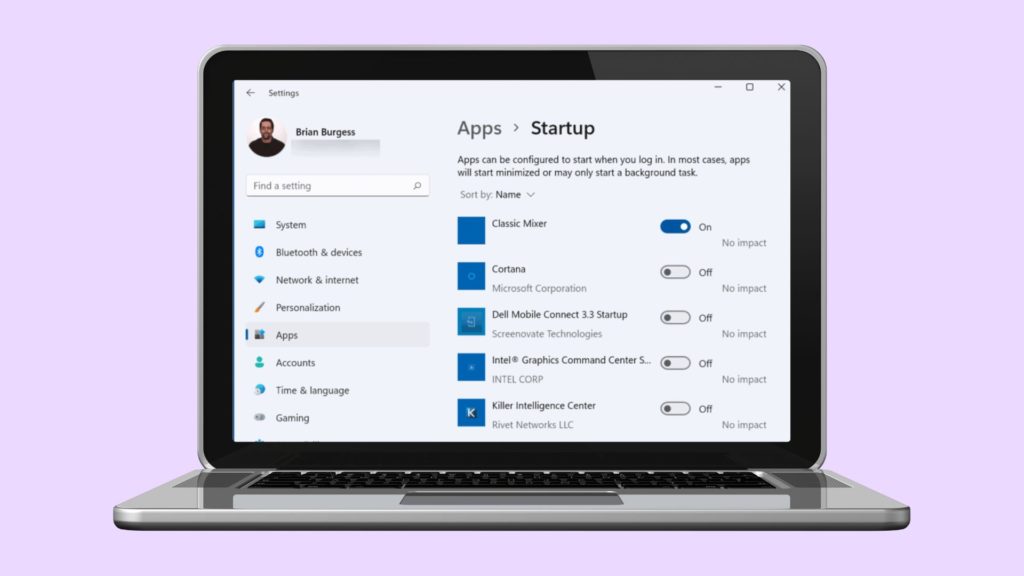
After you’ve decided which apps to keep, you can decide whether they should be loaded automatically at startup. Even if you want an app installed, it doesn’t necessarily mean you want it to run in the background every time you start your computer. When more apps are loaded at startup, the total boot time increases, and more stuff running in the background consumes more resources, resulting in a shorter battery life without a charger.
- Right click the Start button
- Select Settings
- Click on Apps
- Now simply Toggle different Apps ON or OFF as you prefer.
Turn off Core Isolation
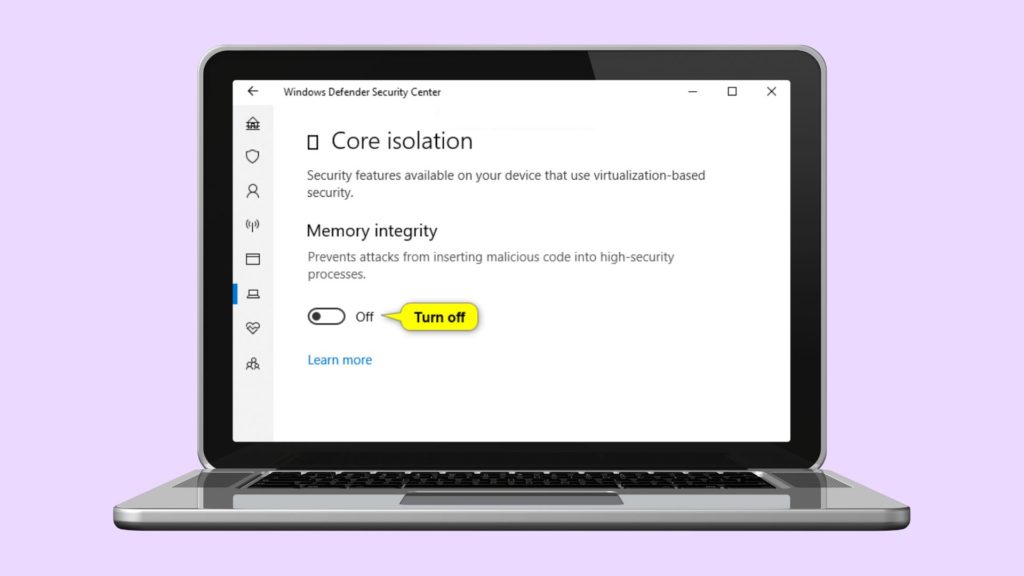
The best way to find this is to click on start and just start typing core isolation. This is an advanced security feature that Windows 11 enables by default with a fresh install, but honestly unless you’re a target of the NSA or something and downloading dodgy stuff, for most gamers you can get a decent speed boost in games by turning this off. After turning it off, just reboot to complete the process.
Setup Windows Hello
It’s worth setting up Windows Hello, if your laptop supports it, including fingerprint or face authentication, as these are great ways to speed up the login process.
Personalization
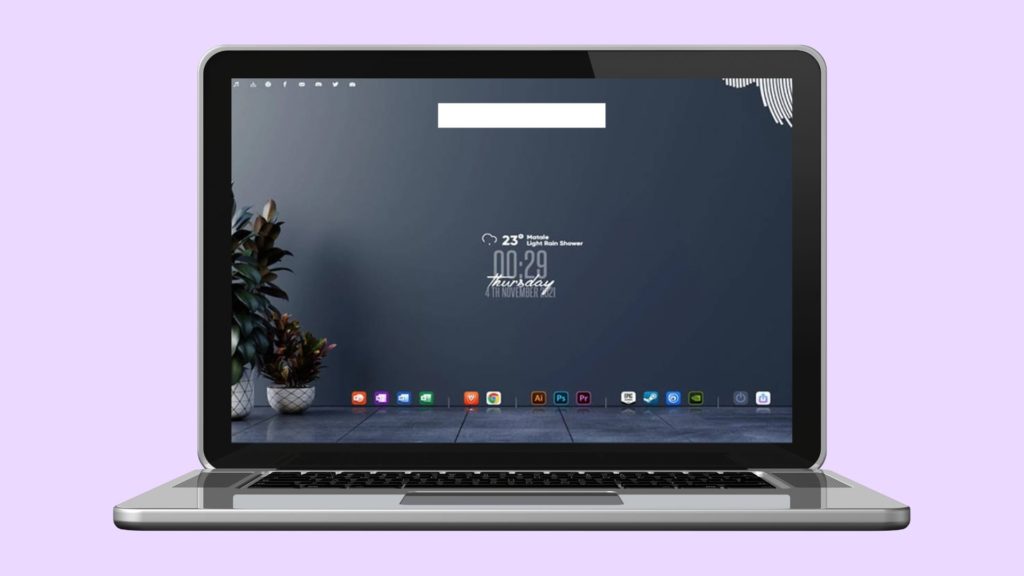
You can customize almost anything when it comes to personalization. Everything here is a matter of personal preference, but here are a few things you might want to change.
If you want, you can turn on dark mode, set a custom wallpaper and lock screen, or adjust the RGB lighting to your liking.
The Edge browser isn’t nearly as terrible as it once was, but I’m already used to Chrome, so I use that, and a custom browser might be a better option for you.
Additionally, I remove the random taskbar icons that Windows places there by default. In the same way, you might want to remove, or even add, desktop icons.
